How to Create a
WordPress Website
*This page contains affiliate links. This means that I may receive a commission if you click on the link and decide to purchase. Everything I write here is my own, honest opinion. I will never recommend anything I don’t trust.
Want to create a WordPress website or blog but don’t know where to start? If you’re feeling stuck, then keep reading because I’m here to help!
I’m happy to tell you that creating a WordPress website or blog isn’t a tedious task that takes up months of your time or requires you to spend thousands of dollars on professional developers and web designers anymore.
Today, more than ever, whether it’s for a blog, a website for your business, or an ecommerce store, you can easily DIY, with no need for coding or development skills. In this guide, I’ll walk you through the steps to help you create your very first self-hosted WordPress website.
BTW, we’re not talking about creating an account on wordpress.com (I know that’s confusing, but that is a totally different platform!)
Step one
Decide on your business name & purchase the domain
Choosing a business name that fits you and your brand, and choosing one that isn’t already taken by someone else, is probably the hardest part of this process! Before getting your heart totally set on a name, you’ll want to research the business name on Google. Researching the business name you want to have is crucial for several reasons:
- Avoid legal issues by ensuring that the name is not already trademarked or copyrighted by another business.
- Building brand identity: Researching your chosen name helps ensure that it accurately reflects your brand and resonates with your target audience.
- Consistency across platforms: You’ll want your social media handles to be the same, or a close variation of the name (check if it’s available on Instagram, Pinterest, etc.) This also helps your SEO.
So what’s a domain name? A domain or domain name is your unique address on the internet. It’s your website’s URL (e.g., heartenmade.com). You can find out if the domain name you want is available and purchase it from somewhere like Namecheap! I recommend using a .com or .co extension.
Purchased your domain?! Great! We’ll talk about connecting your domain name to your host in just a bit. Let’s move on…
Step Two
Choose your hosting provider
So what is hosting?! Hosting consists of all your website files, server and data and allows you to publish your website on the internet. There are many different hosts you can choose from, and most of them offer “managed WordPress plans”, which means a lot of administrative tasks are handled for you, such as installing WordPress, website backups, WordPress updates, security, website support, and more. Your website cannot exist without hosting.
Choosing a reliable website host is crucial when starting a WordPress website, because it has a significant impact on website performance, speed and site security. A great website host will also have a helpful support team ready to help you when you run into any website issues. Here are some stellar website hosts I highly recommend:
WP Engine
One of (if not the) top trusted managed WordPress hosts with stellar 24/7 customer support and WordPress-focused features. Plus, daily backups, regular WordPress updates, caching to boost page speeds, and more.
BigScoots – My Top pick!
I really can’t recommend BigScoots enough! Affordable, fast, high-quality managed WordPress hosting with stable monthly plans & amazing customer support. This is the perfect host for new WordPress websites.
Use HEARTEN20 for 20% off your first month
Cloudways
I use Cloudways cloud hosting on my own websites. Cloudways is fast, and has an amazing 24/7 support team. I recommend Cloudways for developers, agencies, and fast growing websites.
Step Three
Point your domain name to your host
Once your domain name is registered and you’ve purchased hosting, you must now point your domain name servers (DNS) to your new web hosting service. This process is called “changing nameservers”. This step differs a bit depending on the company you purchased the domain name from and the hosting service you signed up for.
* If you purchased both hosting & domain name from the same place, you can skip this step!
If you signed up for BigScoots hosting, their support team is happy to handle this process for you, so skip to Step #4 below.
If you signed up for a different host, get in touch with your host’s support team and tell them you’re ready to point your domain to the host, and they will provide you with the nameservers and steps to take. The process is very simple and usually takes just a minute! Keep in mind that it can take up to 24-48 hours for the domain to fully propagate.
Step Four
Install WordPress and log into your dashboard
If you signed up for BigScoots hosting, you’ll need to log into your BigScoots portal right away and submit your request for a fresh WordPress installation. This is where you can also provide your domain name and domain registrar access so they can point your nameservers like we talked about in Step #3. This usually takes just ~20 minutes. After this process is complete, you’ll be able to log into your WordPress dashboard!
If you’ve purchased managed WordPress hosting from somewhere else, WordPress is usually installed for you automatically and you will have created and received the login info to your WordPress dashboard. If you’re unsure, just check with your host and they will point you in the right direction!
The WordPress dashboard/admin page can be accessed by going to https://yourwebsite.com/wp-admin
Step Five
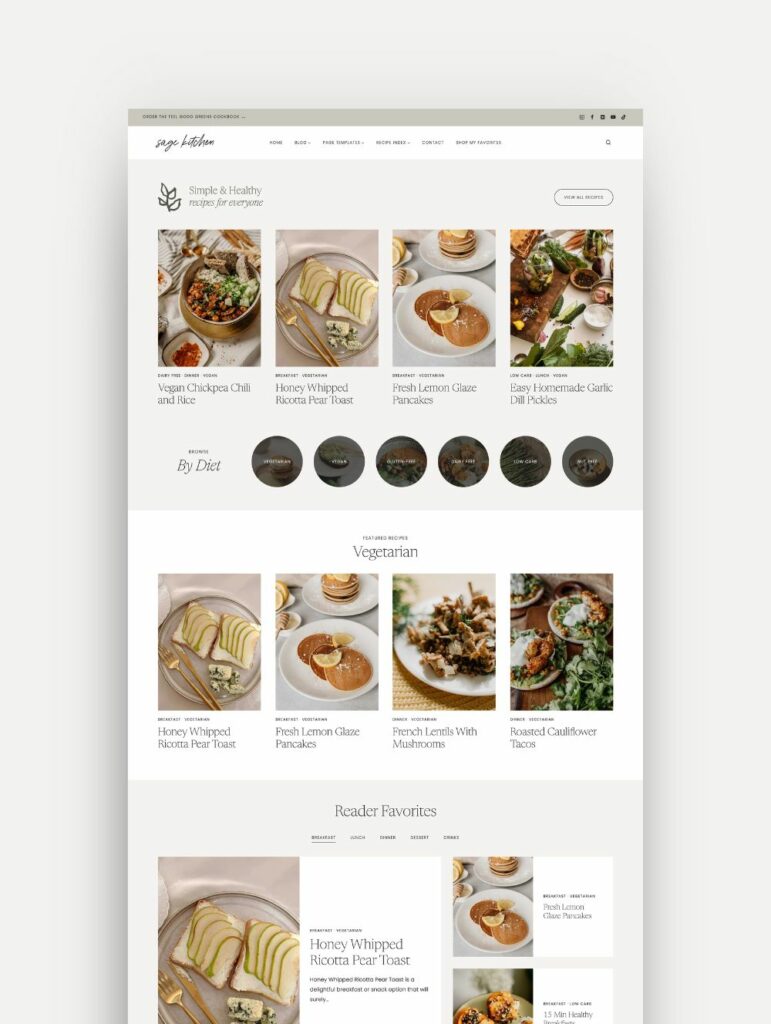
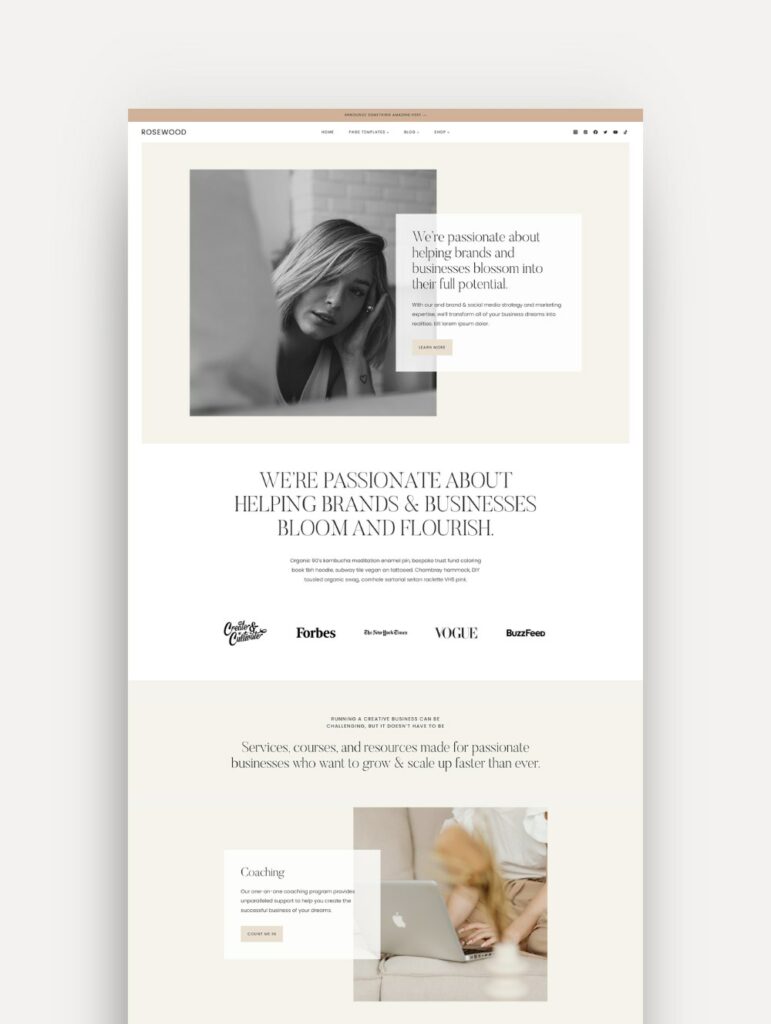
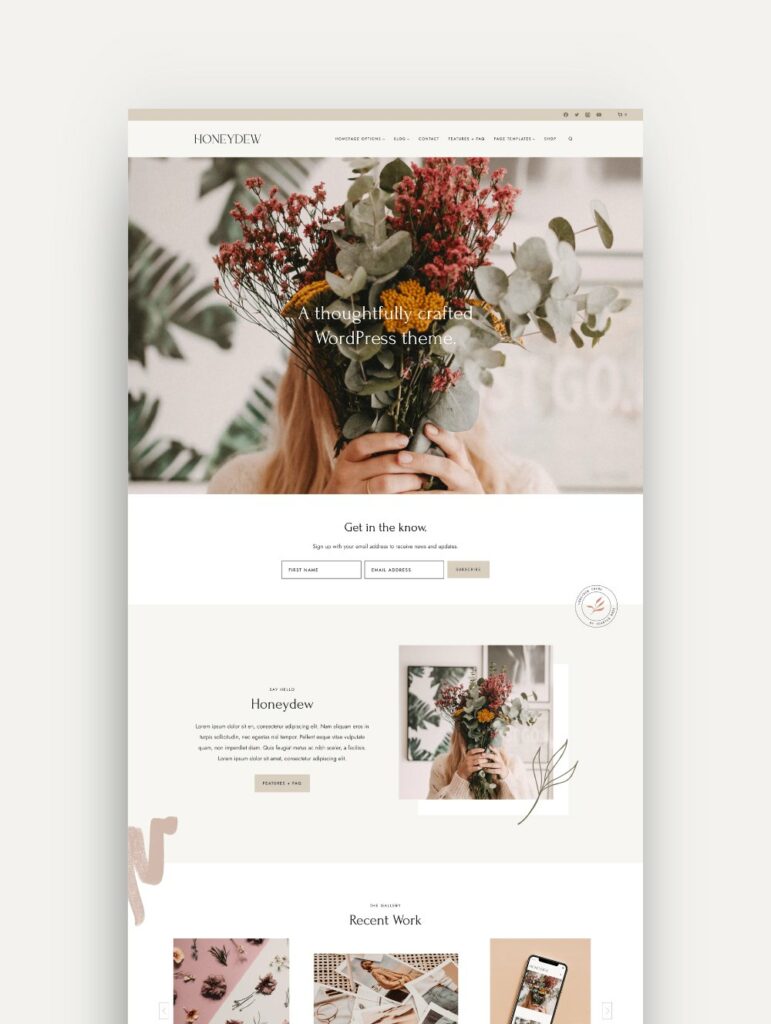
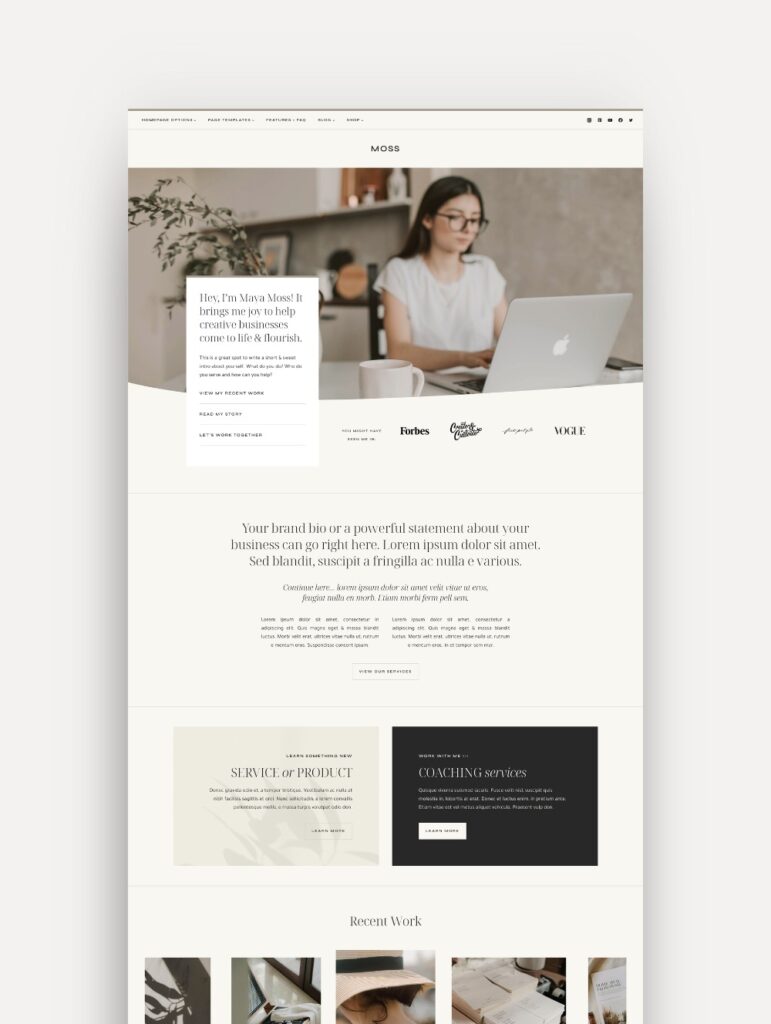
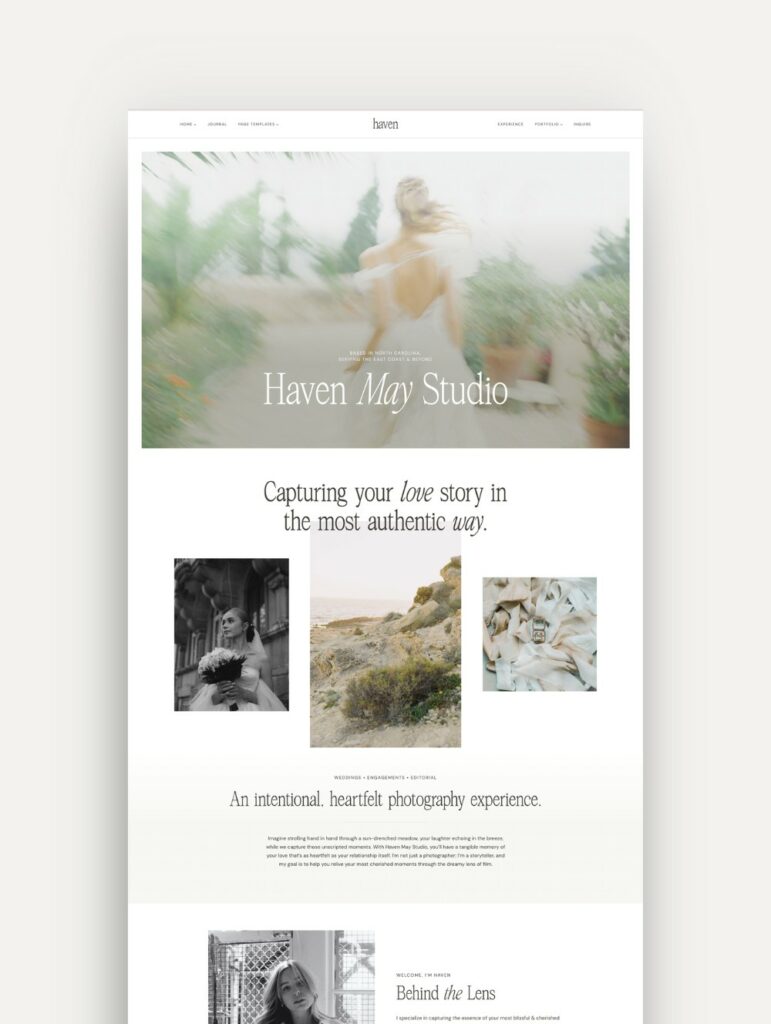
Choose your WordPress theme!
And now for the fun part!
It’s time to browse the shop to choose a WordPress theme that you love and best fits your website goals! We have highly customizable WordPress themes for bloggers, food bloggers, photographers, service-based businesses and more. If you want to learn more about how our themes work, you can read all about it here!
Step Six
Install, customize, and launch your dream website!
Once you’ve purchased your theme, you’ll immediately gain access to your theme files. You’ll also gain access to the Support Docs site, which has all the video tutorials and guides you need on how to install and customize your new WordPress theme!
Don’t forget to check out my helpful Resources & Tools page – I’ve gathered all my favorite go-to tools to help make your WordPress website journey easier. Here you’ll find my recommended ecommerce solutions, selling courses & subscriptions, fonts and stock photos, DIY copywriting resources and so much more!
Once you’ve launched your new site, share it with me! I LOVE seeing how you’ve customized your new theme!